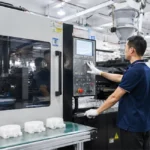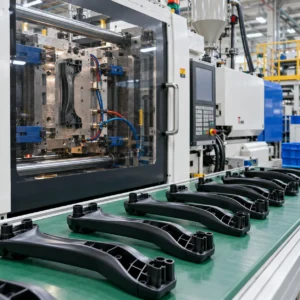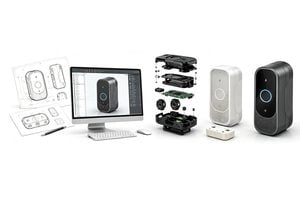
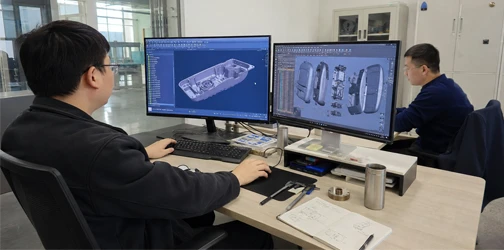
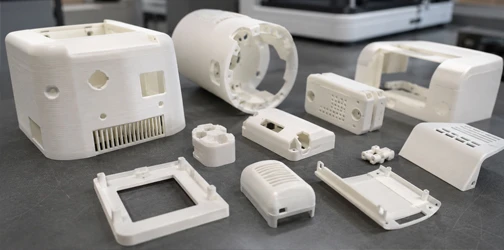
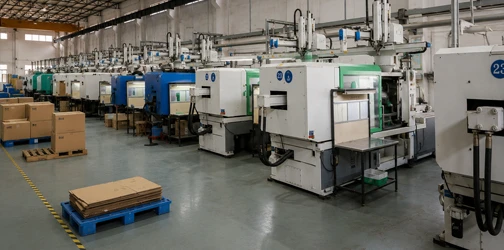
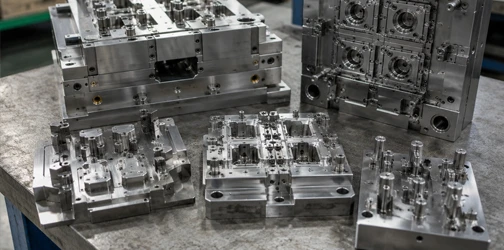

Engineering guide to dfm, prototyping and production-ready plastic product design. It provides a practical development framework for moving from an early product concept to a validated, manufacturable plastic product.
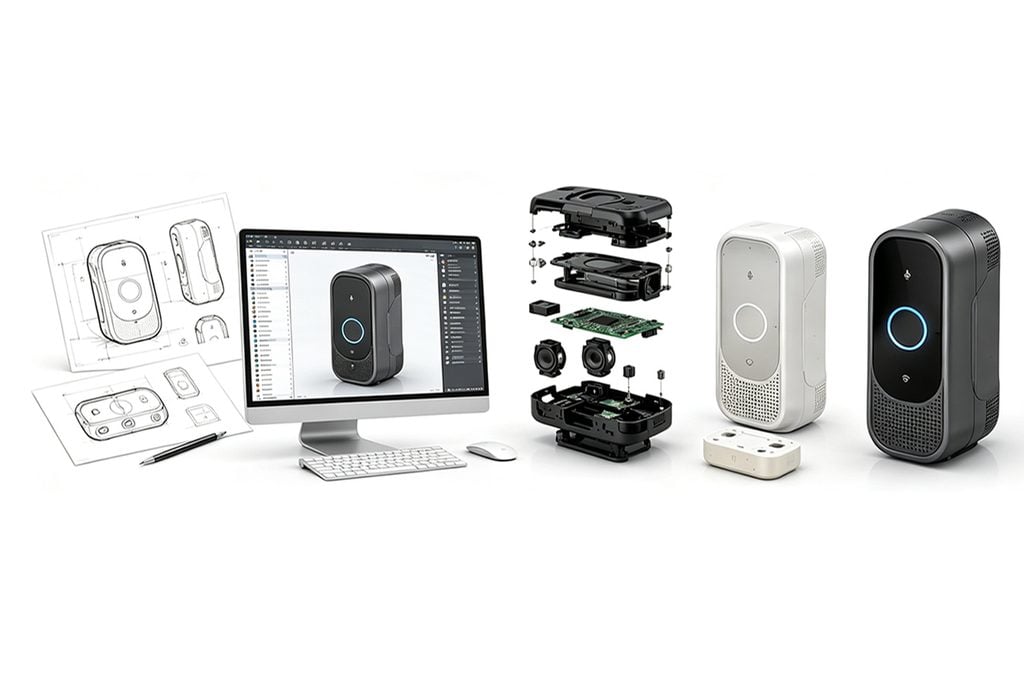
From Concept to Production
Engineering Guide to DFM, Prototyping and Production-Ready Plastic Product Design.
Executive Summary
Successful plastic product development requires more than turning an idea into a 3D model. Material behavior, structural design, assembly, tooling feasibility, product appearance, cost and production volume all need to be considered before manufacturing begins.
This white paper provides a practical development framework for moving from an early product concept to a validated, manufacturable plastic product. It covers product requirements, plastic part design, material selection, DFM analysis, prototype validation and the transition to injection molding production.
The goal is simple: identify risks earlier, reduce costly design changes and prepare the product for reliable manufacturing.
01. Define the Product Before Designing It
A successful development project starts with clear product requirements.
Before detailed engineering begins, the development team should define how the product will be used, what performance it must achieve and how it will eventually be manufactured.
Key Product Requirements
Application & User
Define the intended application, target users and typical use environment.
Functional Requirements
Identify structural loads, movement, sealing, assembly and other functional requirements.
Operating Environment
Consider temperature, moisture, UV exposure, chemicals, impact and outdoor conditions.
Appearance
Define cosmetic surfaces, color, texture, transparency and acceptable visual defects.
Production Volume
Expected production quantity affects material, tooling, cavity count and manufacturing strategy.
Target Cost
Product architecture, materials, tooling and assembly should be evaluated against the commercial target.
Product Requirement Checklist
Before engineering begins, confirm:
- Intended product application
- Target user
- Expected annual production volume
- Mechanical load requirements
- Operating temperature
- Outdoor / UV exposure
- Chemical exposure
- Waterproof or sealing requirements
- Cosmetic requirements
- Assembly requirements
- Regulatory requirements
- Target manufacturing cost
Engineering Tip: A product that looks complete in CAD may still be far from production-ready if these requirements have not been defined.
02. Design Plastic Parts for Manufacturing
Plastic parts behave differently from machined metal components. Poor geometry can lead to sink marks, warpage, difficult ejection, weak structures or unnecessary tooling complexity.
Design decisions should therefore consider injection molding requirements from the beginning.
Wall Thickness
Maintain consistent wall thickness wherever possible.
Large thickness variations can create uneven cooling and shrinkage, increasing the risk of sink marks and warpage.
Instead of creating unnecessarily thick solid sections, consider using ribs or cored structures.
Draft Angles
Draft helps molded parts release from the mold.
Draft requirements depend on geometry, depth, material and surface texture. Textured surfaces typically require additional draft.
Ribs
Ribs can improve stiffness without significantly increasing wall thickness.
Poorly proportioned ribs, however, can create sink marks on the opposite cosmetic surface.
Bosses
Screw bosses and mounting features should be designed with sufficient structural support while avoiding excessive material concentration.
Radii
Sharp internal corners create stress concentration and can interfere with material flow.
Appropriate radii improve strength and moldability.
Undercuts
Undercuts may require slides, lifters or other mold mechanisms.
They should be evaluated early because they directly affect mold complexity, cost and maintenance.
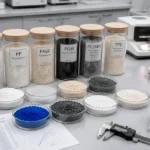
03. Select the Right Plastic Material
Material selection should be based on product requirements—not simply on what has been used in similar products.
The correct material affects:
Strength → Appearance → Durability → Moldability → Cost
Material Selection Framework
| Requirement | Typical Materials to Evaluate |
| General-purpose housing | ABS / PC-ABS |
| High impact resistance | PC / PC-ABS |
| Wear & low friction | POM / PA |
| Transparency | PC / PMMA |
| Chemical resistance | PP / PE / selected engineering plastics |
| Flexible components | TPE / TPU |
| Higher temperature | PBT / PA / PEEK depending on requirement |
| Outdoor application | UV-stabilized material grades |
Evaluate More Than Mechanical Strength
When selecting a production material, consider:
- Tensile and impact strength
- Stiffness
- Heat resistance
- Chemical resistance
- UV resistance
- Moisture absorption
- Shrinkage
- Dimensional stability
- Surface appearance
- Color requirements
- Regulatory requirements
- Material cost
- Injection molding behavior
Engineering Tip: The material used for a prototype does not always need to be identical to the final production material. The prototype material should match the property you are trying to validate.
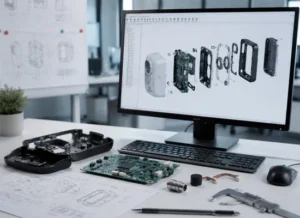
04. Build Prototypes With a Purpose
A prototype should answer specific engineering questions.
Creating prototypes without defining what needs to be validated often wastes time and development cost.
What Should a Prototype Validate?
Form
Does the size, geometry and appearance match the design intent?
Fit
Do mating parts assemble correctly? Are clearances, interfaces and fastening locations correct?
Function
Can the product survive the expected mechanical and functional requirements?
Material
Does material behavior affect flexibility, strength, transparency or product feel?
Manufacturability
Does the design need modification before injection mold development?
Choosing a Prototype Process
CNC Machining
Best suited for high-accuracy functional prototypes and parts requiring production-like engineering plastics.
SLA
Useful for high-detail appearance models and dimensional design validation.
SLS
Suitable for durable, complex nylon prototypes without support structures.
Urethane Casting
Useful for producing multiple appearance or functional samples before production tooling.
Rapid Injection Molding
Suitable when production material and injection molding behavior need to be evaluated before larger-scale production.
05. Conduct DFM Before Tooling
Design for Manufacturability should occur before mold steel is cut.The purpose of DFM is to identify design features that may create molding, tooling, assembly or quality risks.
A Plastic Part DFM Review Should Evaluate
Wall Thickness
Identify thick areas and sudden thickness transitions.
Draft Angles
Confirm reliable mold release.
Undercuts
Identify features requiring slides, lifters or design changes.
Parting Line
Determine where core and cavity separate and assess cosmetic impact.
Gate Strategy
Consider material flow and possible gate vestige.
Ejection
Evaluate ejector locations and potential marks or deformation.
Tolerance
Separate truly critical dimensions from unnecessarily tight tolerances.
Assembly
Check snap fits, screw bosses, mating surfaces and assembly clearance.
Surface Finish
Define cosmetic surfaces, SPI/VDI texture and related draft requirements.
06. Validate Before Tooling
Before injection mold manufacturing begins, the product should pass a formal production-readiness review.
Production Readiness Gate
☐ Product design frozen
☐ Production material selected
☐ Critical dimensions defined
☐ Tolerances reviewed
☐ Assembly validated
☐ Functional prototype tested
☐ Cosmetic requirements defined
☐ DFM review completed
☐ Mold concept reviewed
☐ Expected production volume confirmed
☐ Quality requirements confirmed
The cost of correcting a problem generally increases significantly after tooling begins. Early validation helps reduce redesign, mold modification and launch delays.
07. Transition From Prototype to Production
A validated prototype is not automatically a production-ready product.
The design still needs to transition through manufacturing engineering.
Recommended Development Path
Concept
Define requirements.
→ Engineering Design
Develop structure, materials and assembly.
→ DFM Review
Evaluate manufacturing feasibility.
→ Prototype
Build physical validation samples.
→ Validation
Test form, fit and function.
→ Injection Mold Development
Convert the approved design into production tooling.
→ T1 Validation
Evaluate first molded parts.
→ Production Approval
Confirm dimensions, appearance and function.
→ Mass Production
Establish repeatable manufacturing.
08. Development Checklist
Before releasing a plastic product for tooling, ask:
Product
- Is the design finalized?
- Have functional requirements been tested?
- Are cosmetic requirements clearly defined?
Material
- Is the production resin confirmed?
- Have environmental requirements been considered?
Manufacturing
- Has DFM been completed?
- Are draft and wall thickness acceptable?
- Have undercuts been reviewed?
Quality
- Are critical dimensions identified?
- Are inspection requirements defined?
Production
- Is expected volume confirmed?
- Is the tooling strategy suitable for future production?
Final Takeaway
Design for Production, Not Just for Prototyping
Successful plastic product development connects product design with manufacturing engineering from the beginning.
By validating requirements, materials, structure, DFM and prototypes before tooling, development teams can reduce risk and create a stronger foundation for injection molding production.
Need an Engineering Review?
Share your CAD files and product requirements with Maidder for DFM and manufacturability feedback.